
Russ Beauchene
Setting Up The First Track
The first thing that we are going to do is open up Audacity.
Just click on the Audacity shortcut and this is what you should see.
Now we are going to see how easy it is to set up your first track.
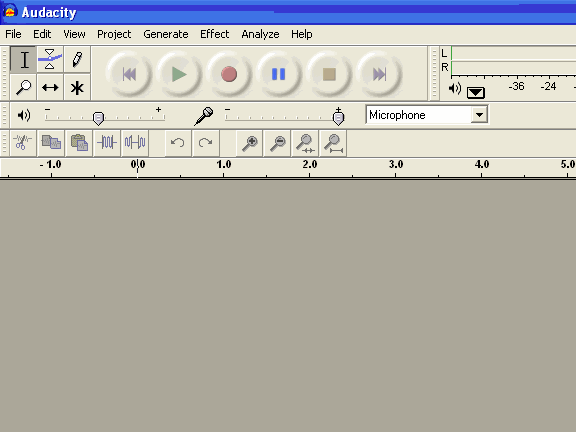
There are a couple of other things that we are going to have to do before we start recording our first cheerleader mp3.
The first thing is to click on the "File" menu button and select "Preferences".
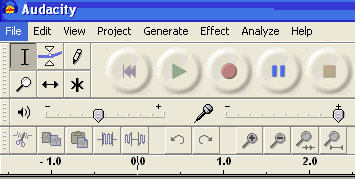
This is what you should see next.
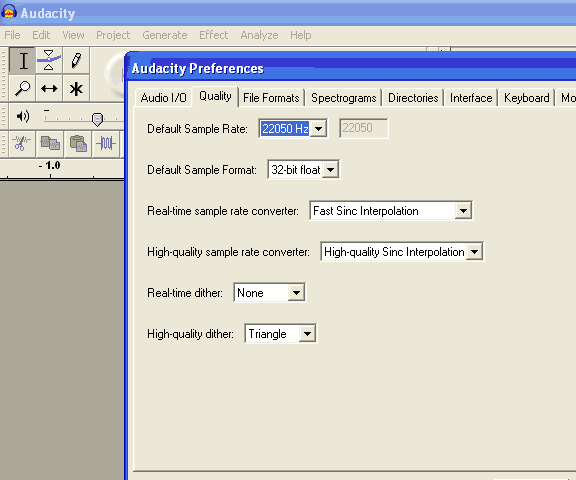
Click on the "Quality" tab and make sure that the "Default Sample Rate" is set at 22050.
Click on "OK" and we are done here.
Now we are going to click on the "Project" menu button and select "New Stereo track".
Now, you should see this screen.
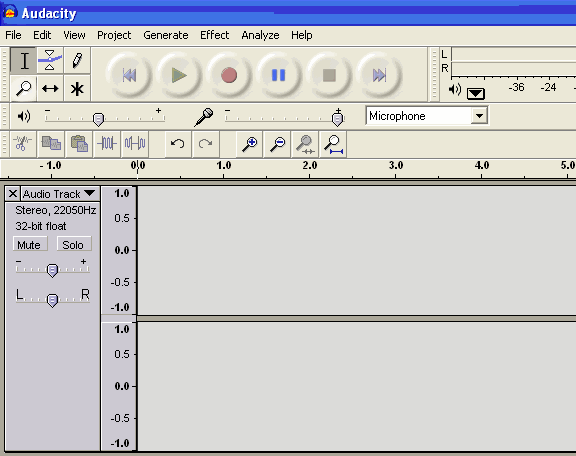
Take a look at this line.

That is your input source.
That is one of those multiple choice buttons.
Your source of input could be line in, CD player, microphone or other sources.
Right now, we want to make sure that it is set on microphone.
Speaking about the microphone, make sure that your microphone is plugged into your sound card.
You will also want to check your system sound window to make sure that your mike is set up to work there.
You can also adjust your input gain there.
Go to your system tray in the lower right hand corner of your screen and right click on the little speaker there.

Click on "Open Volume Control".
That will bring you here.
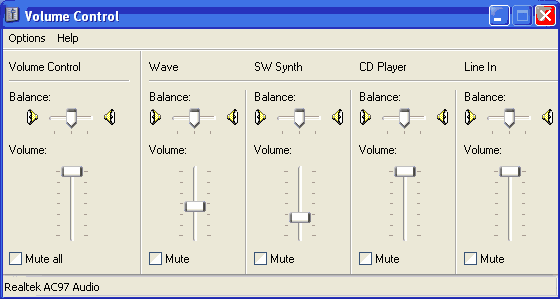
Click on the "Options" button and then click on "Properties".
You will see this screen.
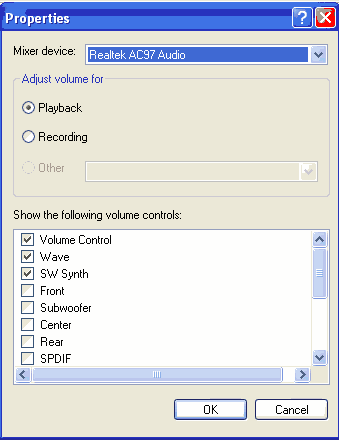
Click on the "Recording" dot and you will get to this screen.
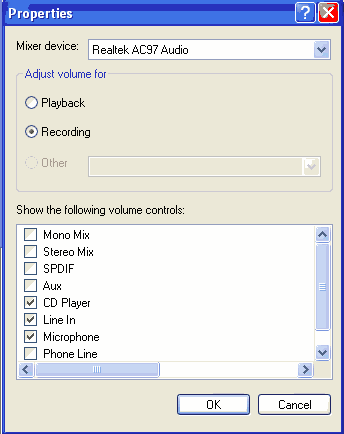
Make sure that the microphone and the line in are checked and click OK.
That will bring you to this screen.
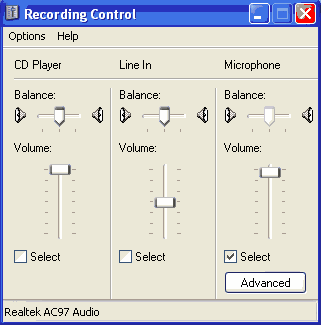
Here you can make sure that the microphone is selected and adjust the volume the way that you want it.
Once you have done that, just close the window and you are good to go.
Now you are ready to start your first recording.
And that is what we will play with next.
Let's play a little.
Before we make our first usable recording, we are going to play with this for a little bit so that we can get an idea what we are doing.
Remember to have fun and play with the whole thing.
Don't take it all too seriously right now.
We are not worried about how it turns out because we can always just erase it and start over.
Right now we are just going through a learning phase.
Remember, this is not for the general public to hear.
It is just for you.
With that out of the way, let's get started.
Let's jump right in and experiment a little bit.
Let's see, we have a new stereo track set up and we are ready to go.
Up towards the top of the screen there are a series of buttons that look like this.

The round red button is the button that you want to click on to start recording.
The square tan button is the stop button.
The blue button with the two lines is your pause button.
The green triangle is your play button for when you want to play your recording back so that you can hear what it sounds like.
Let's make a quick recording to see what adjustments we need to make.
Get your mike set up and press the red record button.
Talk for about 20 or 30 seconds and then hit the tan stop button.
That wasn't so hard was it?
You should end up with something looking like this.
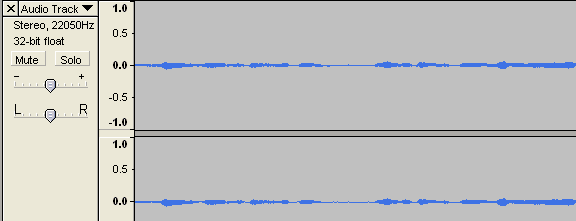
Click on that purple double arrow on the left and it will take you back to the start of the recording.
Click on the green play button and let's see what it sounds like.
It might seem a little strange to hear your own voice because it doesn't really sound like it does when you are talking.
That's ok.
It will just take a little getting used to.
The main thing that we are interested with here is the volume and how clear it sounded.
The volume is not an issue at this point.
We can adjust the playback volume control when we go to listen to it.
The main issue is how clear it sounded.
You might have to play with the placement of the mike in order to get the clearness that you want.
Try it a few different time with the mike being closer or farther away.
Each time that you try it, you can get rid of what you did by going to the "Edit" menu button and clicking on the "undo" button until you hit "undo record".
When you hit that one, it will delete the recording that you just did and you get to start a new one.
Keep playing with it until it sounds right to you.
Just have fun with it and play with it for now.
I told you that this would be easy.
newsletter
here
Resources